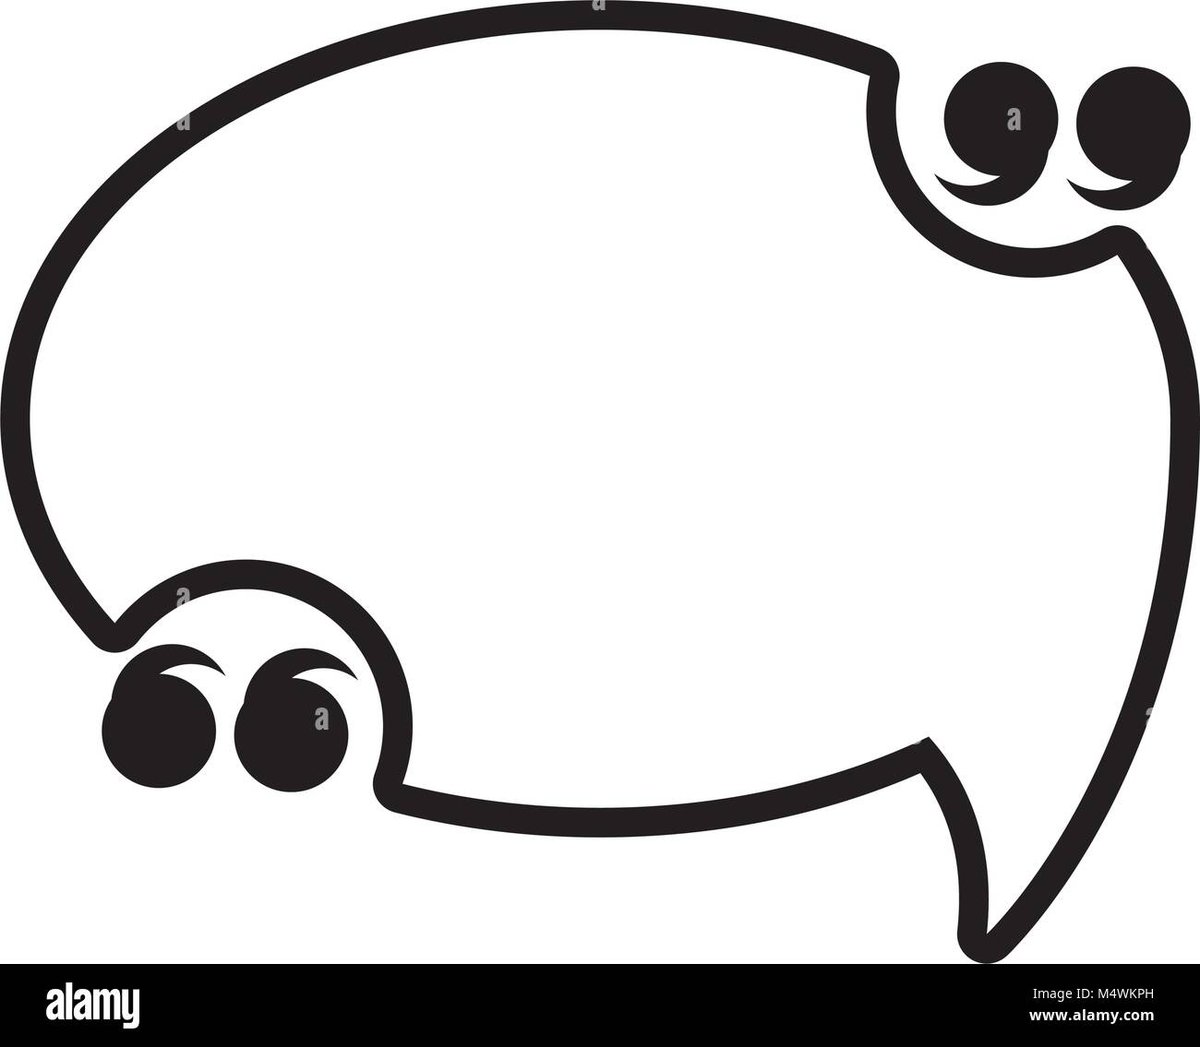
Ever noticed how some visuals just pop? It’s often in the details – the subtle cues that transform static imagery into a dynamic conversation. When it comes to conveying dialogue, thoughts, or sound effects, the humble speech bubble is a powerhouse. But not just any speech bubble. We're talking about customizing speech bubble design & styles to elevate your visuals from forgettable to truly engaging. Forget generic text boxes; tailored bubbles are your secret weapon for capturing attention and communicating nuance.
At a Glance: Your Quick Guide to Speech Bubble Mastery
- Why customize? To convey emotion, reinforce brand, enhance clarity, and make your visuals visually appealing.
- Key elements: Shape, tail, text, and color are your primary levers for design.
- Tools make it easy: Browser-based platforms like Mega Creator and Canva offer intuitive drag-and-drop interfaces.
- Beyond dialogue: Use bubbles for thoughts, sound effects, and even as image frames.
- Best practices: Prioritize readability, match style to context, and maintain visual consistency.
- Common pitfalls: Over-customization, illegible text, and clashing colors can undermine your message.
More Than Just Text: The Power of a Well-Designed Bubble
Think about your favorite comic strip or a viral meme. What makes them stick? Often, it’s the immediate, visceral connection you feel with the characters' expressions and words. Speech bubbles are the unsung heroes of this connection, acting as visual bridges between your audience and your message.
But a generic oval with text won't always cut it. Customizing these visual containers allows you to:
- Convey Emotion and Tone: A jagged, spiky bubble screams anger or shouting. A soft, cloudy bubble whispers a thought. The shape itself becomes part of the dialogue, enriching the emotional landscape of your visual story.
- Reinforce Brand Identity: Consistency in design elements, including speech bubbles, builds a recognizable brand. Imagine a brand using specific bubble styles and colors in all its social media content – it becomes part of their unique visual language.
- Enhance Clarity and Readability: Strategic use of size, font, and color ensures your message is not just seen, but easily understood. A bubble that stands out against a busy background or one with text that's perfectly legible is doing its job.
- Boost Engagement: Unique and thoughtful design choices grab attention. In a scroll-heavy world, differentiating your content with creative speech bubble styles can make all the difference between a fleeting glance and a meaningful stop.
Deconstructing the Bubble: Core Elements You Can Customize
Before you dive into the myriad of tools, it helps to understand the fundamental components of any speech bubble that are ripe for customization. Mastering these elements gives you granular control over your visual storytelling.
1. The Bubble Shape and Style
This is the most obvious starting point. The basic 'bubble' is a container for your text, but its form can carry immense meaning.
- Classic Comic Ovals/Rectangles: The bread and butter of speech bubbles, offering a neutral, versatile canvas. You can soften corners or sharpen them for a modern edge.
- Thought Clouds: Distinguished by their series of small circles leading to the main bubble, these are universally understood to represent internal monologue or unspoken thoughts.
- Spiky or Jagged Edges: Instantly communicates shouting, anger, surprise, or a loud sound effect. The more pronounced the spikes, the more intense the emotion.
- Wavy or Squiggly Borders: Suggests an unsteady voice, confusion, or perhaps a magical utterance.
- Custom Shapes: Platforms like Mega Creator allow you to go beyond predefined shapes, enabling truly unique designs that can fit specific objects or abstract concepts. Think about speech bubbles shaped like a lightning bolt for a sudden idea, or a specific icon relevant to your theme.
2. The Tail (Pointer)
The tail is crucial; it connects the dialogue to the speaker. Its design directly impacts how your audience interprets who is saying what.
- Pointiness and Length: A short, subtle tail implies a casual conversation. A long, dramatic tail might suggest emphasis or a voice coming from a distance. The sharper the point, the more direct the speech.
- Multiple Tails: In complex scenes with several speakers, multiple tails can be used, though this requires careful design to avoid visual clutter. Often, it's better to use separate bubbles for distinct speakers.
- Direction and Position: The tail should always clearly point to the source of the speech. Misaligned tails lead to confusion. You can often drag and rotate tails independently of the bubble body.
3. Text Properties
What's inside the bubble is just as important as the bubble itself. The right typography enhances readability and reinforces the bubble's emotional message.
- Font Choice: A playful script for a lighthearted comment, a bold sans-serif for a strong statement, or a classic serif for narrative text. Many tools offer extensive font libraries.
- Size and Weight: Text size needs to be legible, even when scaled for different platforms. Bold or italic text can add emphasis, but use it sparingly to maintain impact.
- Color: Contrasting text color with the bubble color is paramount for readability. Black text on a light bubble or white text on a dark bubble are safe bets. But you can also use color to indicate character, mood, or a specific sound.
- Alignment: Left-aligned, centered, or justified – choose what looks best within the bubble's shape and for the overall flow of your design.
- Spacing: Line height and letter spacing can make text feel cramped or open. Adjust these for optimal legibility within your chosen bubble shape.
4. Color Palette
Color is perhaps the most immediate conveyer of mood.
- Bubble Color: A vibrant yellow for excitement, a cool blue for calm, a subtle grey for neutrality. Use color strategically to make bubbles pop or blend. Canva, for instance, offers a full color palette and color wheel to help you harmonize bubbles with your overall design or create striking contrasts.
- Border Color/Thickness: A thick, dark border can make a bubble stand out. A thin, subtle border helps it integrate. Changing border colors can also add stylistic flair.
- Shadows and Gradients: Adding a subtle drop shadow can give your bubble depth, making it appear to float off the page. Gradients can add a professional, modern touch.
Beyond the Basic: Advanced Customization Techniques
Once you're comfortable with the core elements, you can push the boundaries and explore more sophisticated techniques.
Integrating Images into Bubbles (Speech Bubble Frames)
Canva's "speech bubble frames" feature offers a creative twist: instead of text, an image fills the bubble. This is excellent for:
- Visualizing Thoughts: Show a character thinking about a specific object or person.
- Highlighting Products: Feature a product image inside a thought bubble for an advertisement.
- Creating Unique Collages: Combine images within various bubble shapes for an artistic effect.
Dynamic Sound Effects (SFX) Bubbles
Comic books aren't just dialogue; they're sound. Customize bubbles for "POW!", "BAM!", "WHOOSH!", or "CRACK!"
- Exaggerated Shapes: Often bold, irregular, and highly stylized to mimic the sound itself.
- Dramatic Typography: Heavy, impactful fonts that suggest loudness or force.
- Vibrant, Contrasting Colors: Use bright, attention-grabbing colors to make the SFX visually resonant.
Multi-Bubble Conversations & Comic Strip Layouts
When you have more than one speaker or a narrative sequence, managing multiple bubbles becomes key.
- Placement Strategy: Position bubbles clearly above or near the speaker. For sequential dialogue, generally arrange them to be read from left to right, top to bottom.
- Consistent Styling: While you might differentiate characters by slightly varied bubble styles (e.g., one character always has rounded bubbles, another slightly square), maintain overall consistency in your comic strip.
- Grids and Layouts: Tools like Canva offer grid layouts to help you structure comic strips, allowing you to easily place photos, speech bubbles, captions, stickers, and stamps within defined panels.
The Tools of the Trade: Making Customization Accessible
You don't need expensive software or advanced design degrees to create stunning custom speech bubbles. Modern, browser-based tools have democratized the process.
Mega Creator: This platform is a fantastic example of a free, browser-based tool designed for easy meme and visual creation. It streamlines the entire process, making advanced customization accessible:
- Pre-made Templates: Start with a solid foundation and modify from there.
- Drag-and-Drop Interface: Intuitive control over bubble size, position, and rotation.
- Extensive Customization: Select from classic comic, modern chat, or thought clouds. Fine-tune tail pointiness, roundness of corners, or even create custom shapes from scratch.
- Professional Typography: Access a vast library of fonts, adjust sizes, colors, alignment, and apply bold, italic, or underline styling.
- Multiple Bubbles: Easily add and manage several bubbles on a single canvas.
- High-Resolution Export: Get your finished visuals in various formats optimized for social media.
The beauty of Mega Creator lies in its ability to offer professional-grade options without demanding design expertise, making it a powerful resource if you want to quickly create speech bubbles online.
Canva: A household name for designers and non-designers alike, Canva also offers robust features for speech bubble customization: - Search and Select: A simple search for "speech bubble" brings up a wide array of styles.
- Direct Text Entry: Type directly into chosen bubbles, with text often auto-resizing to fit.
- Color Matching: Use the color palette or color wheel to match bubble and text colors to your overall design, ensuring visual harmony.
- Frames and Comic Tools: As mentioned, Canva's "speech bubble frames" let you embed images, and its grid layouts simplify full comic strip creation, blending photos, bubbles, and other elements seamlessly.
Both platforms demonstrate that powerful customization is within reach, requiring only your creativity and a few clicks.
Designing for Impact: Best Practices for Your Custom Bubbles
With great customization power comes great responsibility. Here are some guidelines to ensure your custom speech bubbles enhance, rather than detract from, your message.
- Context is King: Always consider the purpose and audience of your visual. A playful, cartoony bubble might be perfect for a meme, but entirely inappropriate for a corporate infographic. Match the bubble's style to the overall tone of your content.
- Prioritize Readability: This is non-negotiable. No matter how fancy your bubble, if the text is hard to read, your message is lost.
- Ensure sufficient contrast between text and bubble background.
- Choose legible fonts and appropriate text sizes.
- Avoid overly busy backgrounds that obscure the text.
- Maintain Consistency (Within Reason): If you're creating a series or a comic, aim for consistency in your bubble styles for specific characters or types of dialogue. This helps the audience quickly understand who is speaking or what type of utterance is being made. However, don't be afraid to break consistency for dramatic effect (e.g., a sudden scream bubble amidst calm dialogue).
- Balance Complexity: While customization is fun, too many different bubble styles, colors, and fonts on a single visual can lead to clutter and confusion. Simplicity often communicates more effectively. Choose 1-3 distinct styles and stick to them.
- Use Emotion Thoughtfully: A jagged bubble conveys anger, but why is the character angry? Ensure the bubble's emotion aligns with the character's expression and the narrative. Misaligned emotional cues can create dissonance.
- Test Across Devices: What looks great on a desktop monitor might be illegible on a small phone screen. Always preview your designs on various devices to ensure optimal viewing and readability.
Common Questions & Misconceptions About Speech Bubble Design
- Do I have to draw my own? Absolutely not! Modern tools like Mega Creator and Canva provide extensive libraries and intuitive interfaces, making it easy to create custom bubbles without any drawing skills.
- Does text auto-resize in all tools? Many user-friendly platforms (like Canva) will auto-resize text to fit within a pre-selected bubble, but you usually retain manual control to fine-tune it.
- What's the best file format for exporting? PNG is excellent for transparent backgrounds, ideal for overlaying bubbles on existing images. JPG is good for general image quality with a solid background. SVG is best for vector graphics, offering infinite scalability without losing quality (though not all tools offer this export for full designs).
- How do I make my bubbles accessible? Ensure high contrast between text and background colors for visually impaired users. Also, consider adding alternative text (alt-text) to your image descriptions, transcribing the bubble text for screen readers.
- Should every character have a unique bubble style? Not necessarily. It's often clearer to use one general style for dialogue and perhaps a distinct style for thoughts. Too many unique styles can become distracting. You can differentiate characters more subtly through font choice or slight color variations.
Your Creative Toolkit: Taking Your Visuals to the Next Level
You now have a solid understanding of why customizing speech bubble design & styles is a game-changer for visual communication and how to wield that power effectively. From the nuanced choice of a tail's pointiness to the emotional resonance of a color palette, every decision you make contributes to the story you're telling.
Don't let your dialogue be an afterthought. Dive into the features offered by tools like Mega Creator and Canva. Experiment with different shapes, play with fonts, and discover how color can speak volumes. Start simple, focus on clarity, and then let your creativity soar. The ability to craft engaging, custom speech bubbles isn't just a design trick; it's a vital skill for anyone looking to make their visuals truly unforgettable. The conversation starts now – go make it visually compelling.